Murphy Bed Disassembly for Renovations Flooring Projects and Home Relocations
Murphy bed disassembly protects walls, flooring, hardware, frames, panels, springs, and hinges before renovations, flooring projects, or home relocations. The right approach depends on wall attachment, bed size, room layout, flooring plans, hardware condition, frame style, the moving path, and whether the bed will be stored, reinstalled, repaired, or relocated afterward.
- Murphy beds anchor into walls, so careful removal prevents drywall and stud damage.
- Renovations and flooring jobs need open access around the bed footprint.
- Organized hinges, panels, and brackets make reassembly faster and cleaner.
- Related pieces like box springs, headboards, and wall units often need coordination.
- Professional disassembly is safer when hardware is heavy, tensioned, or built in.
Make Room for Renovation Without Damaging the Murphy Bed
Murphy beds free up valuable square footage in apartments, condos, guest rooms, and home offices. However, when painters, flooring crews, or movers arrive, that same wall-mounted convenience suddenly becomes a complicated obstacle. Rushed removal often cracks drywall, scratches hardwood, bends hinges, or snaps panel hardware.
Fortunately, careful planning solves most of those problems. By scheduling professional Murphy bed disassembly early, you clear the work zone, protect the bed for storage, and keep renovation timelines on track. Whether you're prepping for new floors, fresh paint, or a full relocation, safe dismantling sets the stage for everything that follows.

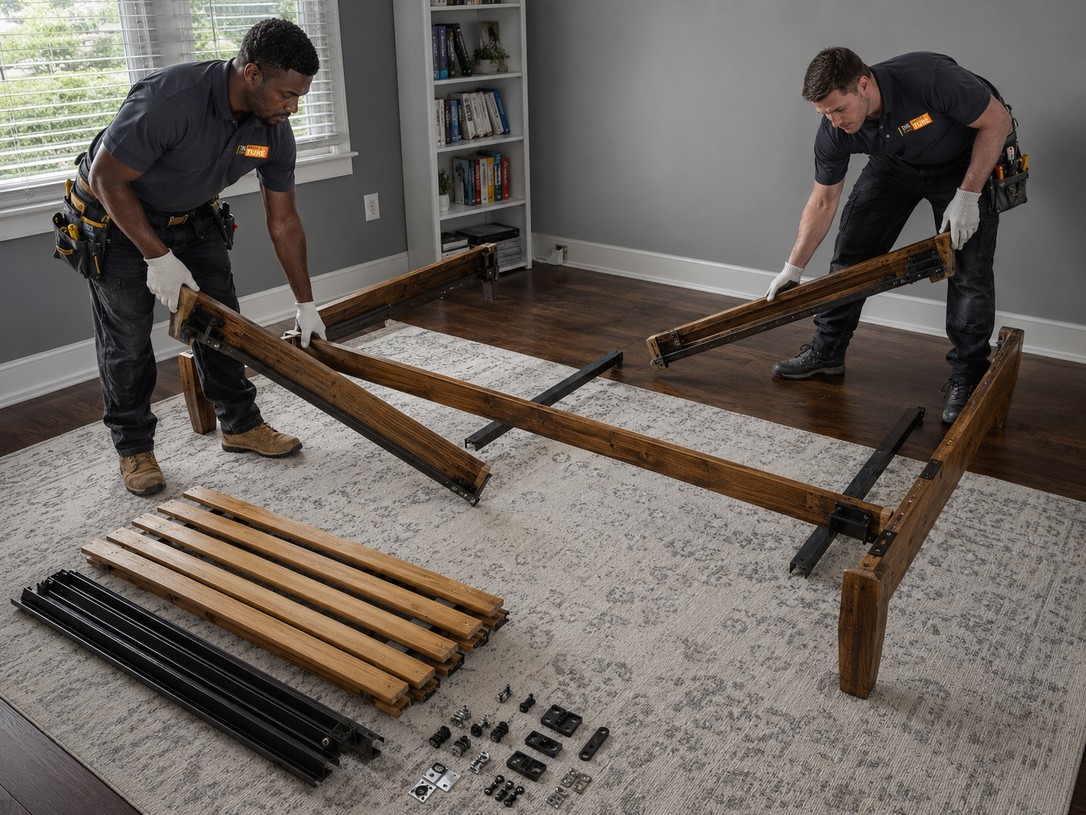
Wall Beds Need Care Before Panels Come Off
Wall beds rely on tensioned springs, pivot hardware, and wall anchors that hold serious weight. Removing them without releasing tension first can launch hardware, dent panels, or damage the frame. A measured, step by step approach keeps every component intact and ready for reuse.
Most wall beds share a similar breakdown sequence, though hardware brands vary. Before touching the cabinet, walk the room and note any obstacles near the swing path. Browsing Murphy bed styles for small rooms shows just how many configurations exist, from vertical queens to horizontal twins with side cabinets.
Key handling concerns include:
- Releasing piston or spring tension before unbolting the frame
- Protecting veneer panels with padded blankets
- Labeling left, right, top, and bottom brackets
- Capping exposed lag bolts to prevent wall scuffs
For complex installs, a Murphy bed disassembly team brings the right straps, dollies, and fasteners on the first visit.
Flooring Projects Require Clear Space Around the Bed
Flooring contractors need a clean, level subfloor with nothing anchored in the way. Murphy bed cabinets often sit flush against baseboards and extend into the room, blocking sanders, tile saws, and underlayment rolls. Moving the bed out entirely gives crews full reach.
Why Partial Moves Rarely Work
Sliding a Murphy bed away from the wall sounds easy, but the cabinet usually stays bolted to studs. Even after unbolting, the unit is heavy, top-loaded, and awkward. Partial shifts also leave seams and transitions inaccessible, which forces flooring crews to cut around the bed and create uneven results.
Coordinating Timing With Contractors
Schedule disassembly one or two days before installers arrive. That buffer gives time for last-minute prep, wall patching, and dust cleanup. Many homeowners pair this step with home furniture disassembly before renovation so the whole room is ready at once.
Renovation Crews Work Better With the Bed Safely Removed
Painters, drywall finishers, and electricians all need vertical wall access. A Murphy bed covers the exact surface they need to repair, prime, or rewire. Removing it early prevents masking headaches, overspray on panels, and accidental dings from ladders or tool carts.
| Renovation Task | Access Needed | Disassembly Benefit |
|---|---|---|
| Wall painting | Full wall surface | Clean cut-ins, no overspray |
| Drywall repair | Stud to stud area | Proper patching and sanding |
| Electrical work | Outlet and wiring zones | Safe inspection access |
| Flooring install | Floor under cabinet | Level subfloor, clean seams |
| Trim replacement | Baseboard line | Tight, gap-free finish |

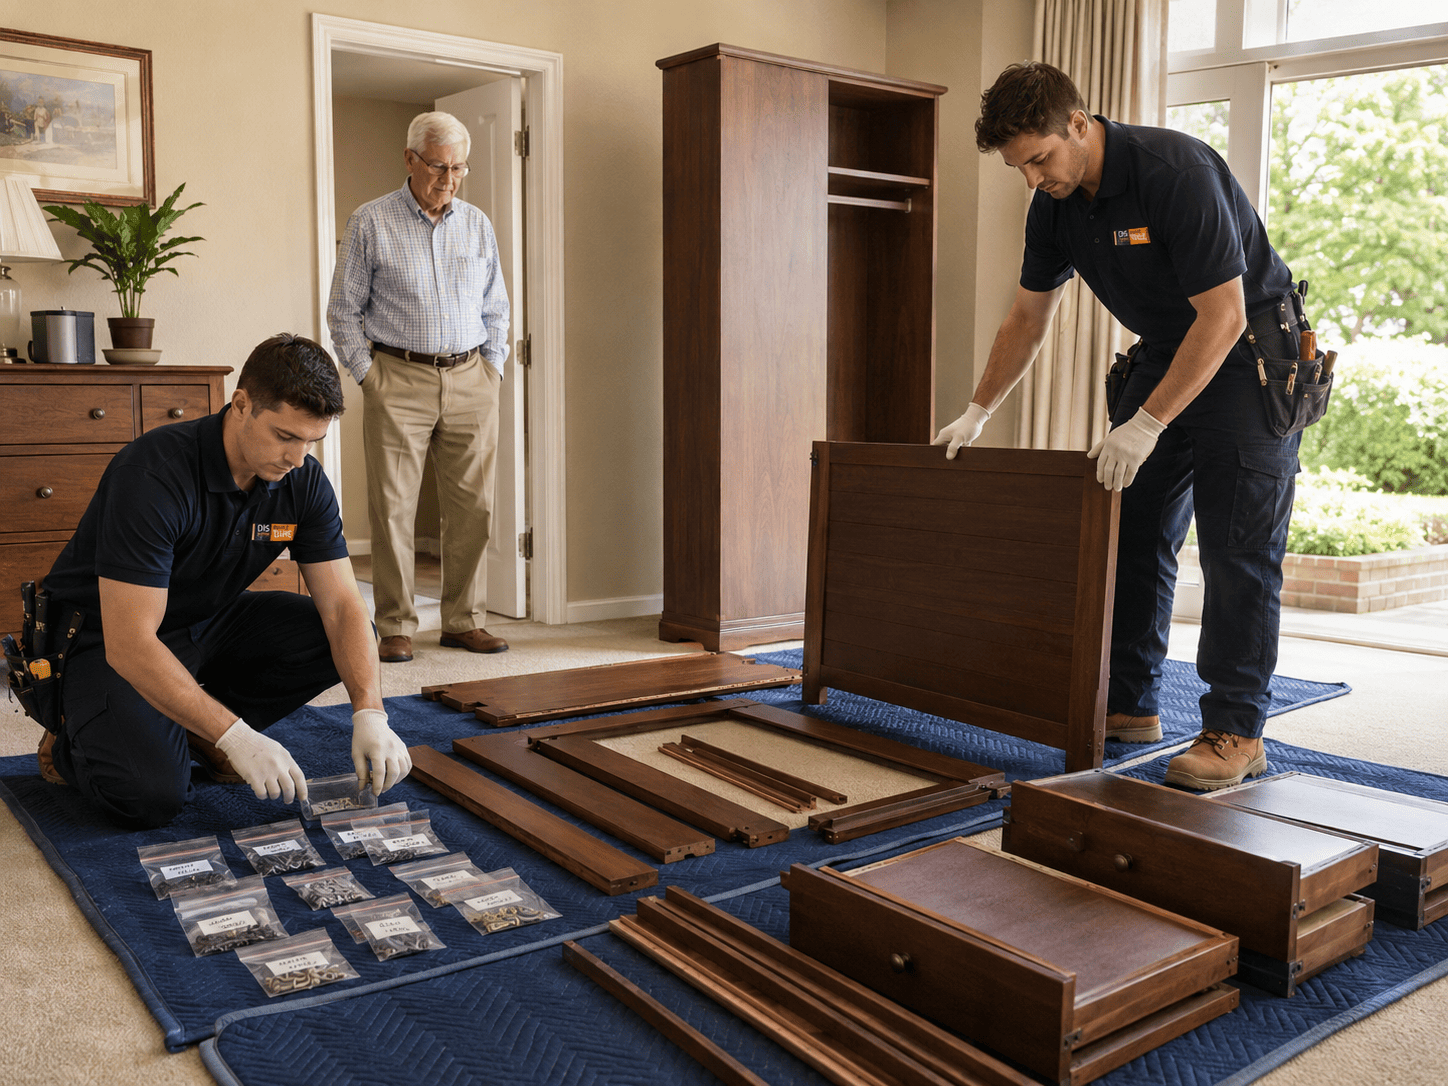
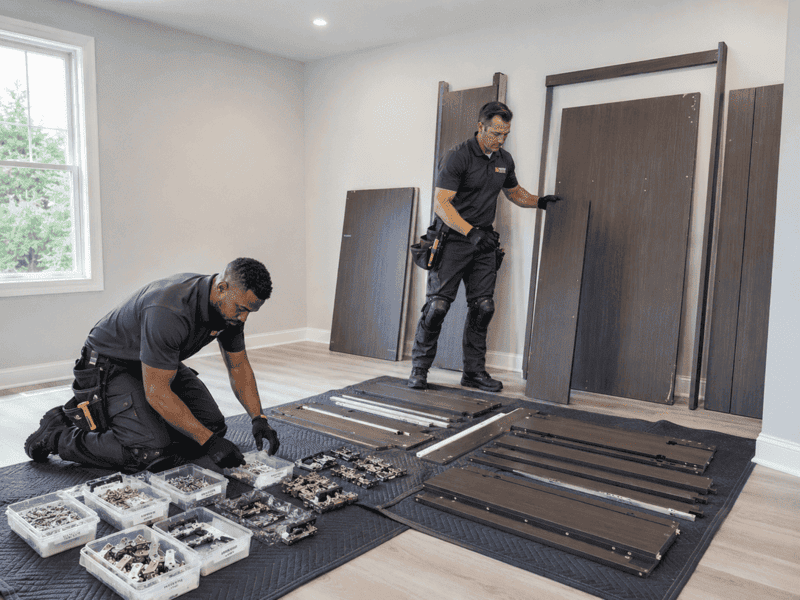
Hardware, Hinges, and Frames Should Stay Organized
Murphy bed reassembly fails when small parts go missing. Cabinets ship with dozens of unique screws, cam locks, pivot pins, and tension rods. Losing even one piece can delay reinstallation by days while you source a replacement.
A simple organization system saves hours later:
- Use labeled zip bags for each hardware group
- Photograph the frame before each step
- Keep the original manual or print a parts diagram
- Store panels vertically to prevent warping
- Wrap mattress platforms separately from cabinet sides
Referencing standard bed sizes and dimensions helps confirm mattress and frame measurements before storage or transport.
Related Bedroom Pieces May Need Disassembly Too
Murphy beds rarely stand alone. Many sit beside dressers, nightstands, side cabinets, or a tufted headboard accent wall. Renovation prep usually means moving all of them, and oversized items often need breakdown to clear doorways.
Common companion pieces include box springs that won't bend through tight stair turns, plus padded headboards that snag on trim. A box spring disassembly before moving crew can split rigid frames into manageable sections without damaging the fabric or wood. Similarly, tufted headboard disassembly for bedrooms keeps buttons, batting, and upholstery intact during the move.
You can also explore bed disassembly for moving projects or bed frame assembly service support when planning the full bedroom turnover.

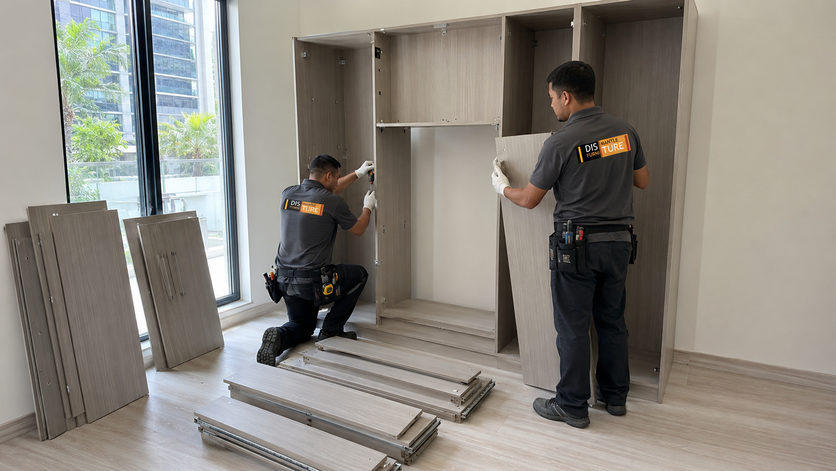
Wall Units and Built-Ins Can Complicate the Moving Path
Built-in wall units, bookshelves, and entertainment cabinets often share walls with Murphy beds. They block hallways, narrow stair turns, and elevator entries. Removing them first opens the path so the bed cabinet can exit without scraping corners or pinching trim.
Murphy bed disassembly planning means checking the bed size, wall attachment points, hinges, frame hardware, surrounding furniture, floor access, moving path, storage needs, and reassembly plans before the wall bed comes off the wall. That checklist applies to every project, from a single guest room refresh to a full condo relocation.
For tight layouts, wall unit dismantling for tight spaces is often the first step crews tackle. Pairing that with smart furniture setup for homes keeps everything moving in sequence.
Relocation Plans Should Include Reassembly Details Early
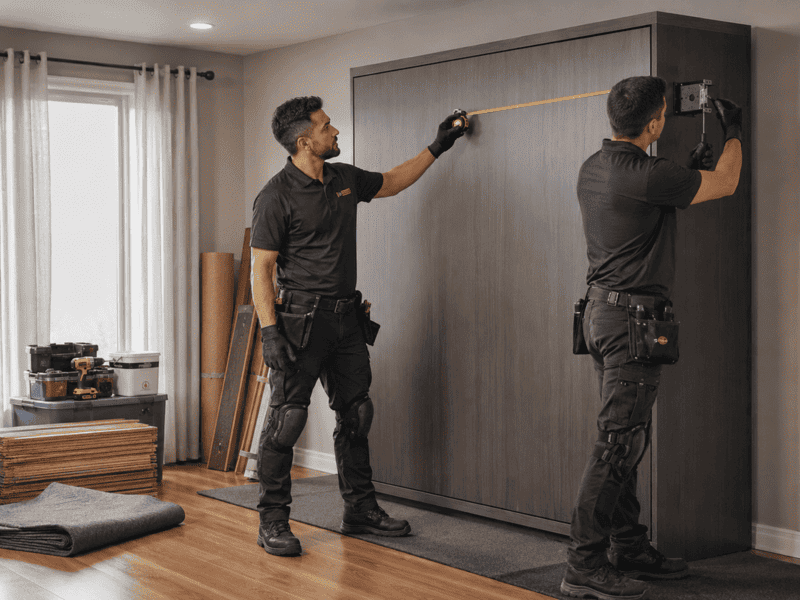
Moving a Murphy bed is only half the job. Reinstallation at the new home requires the same wall studs, anchor pattern, and clearance the original setup had. Planning that ahead prevents arriving with a bed that won't fit the new room.
Before the truck rolls, confirm:
- Stud spacing and wall material at the destination
- Ceiling height for vertical Murphy beds
- Floor clearance for the open position
- Hardware completeness from the original install
- Access for Murphy bed assembly service help on arrival day
Some homeowners also book IKEA furniture assembly for bedrooms when pairing the wall bed with flat-pack nightstands or wardrobes.
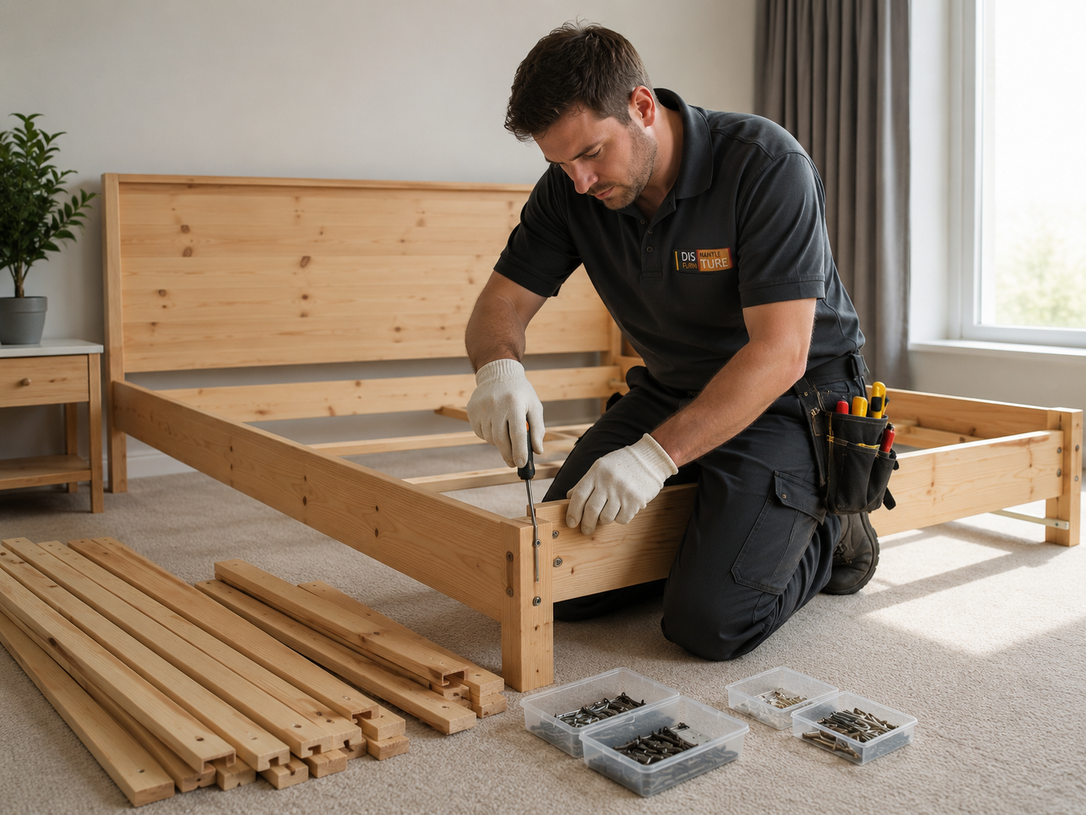
Professional Disassembly Helps Avoid Costly Wall and Floor Damage
DIY removal looks affordable until something breaks. A cracked panel, stripped lag bolt, or punched drywall easily costs more than a full professional visit. Trained crews bring tension tools, anchor extractors, and padded transport gear that homeowners rarely own.
Hiring pros also protects warranties on premium wall beds and keeps reassembly straightforward. Compare your options through professional furniture disassembly service options before deciding how to handle the project.
Request Murphy Bed Disassembly Help Today
Safer Murphy bed disassembly keeps walls smooth, floors scratch-free, and hardware ready for reinstallation. Dismantle Furniture handles the lift, the labeling, and the logistics so your renovation or move stays on schedule.
Beyond bedrooms, our network also supports office furniture assembly for home workspaces, trampoline repair help for backyard equipment, and basketball hoop maintenance tips for driveway setups. Whatever the project, the right prep makes all the difference.
Reach out now to request a quick disassembly estimate for Murphy bed, box spring, tufted headboard, wall unit, and full home furniture disassembly.
Frequently Asked Questions About Murphy Bed Disassembly
Can a Murphy bed be disassembled for flooring work?
Yes, and it's the recommended approach. Full removal lets installers reach the entire subfloor and finish seams cleanly under the cabinet footprint.
Should a Murphy bed be removed before renovation?
Removing it early is usually best. Crews gain full wall access for paint, drywall, and electrical work without risking damage to the cabinet or panels.
What parts of a Murphy bed need careful handling?
Tensioned springs, pivot hinges, wall anchors, and veneer panels are the most fragile. Each requires controlled release and padded storage to avoid bending or cracking.
Can a Murphy bed be moved to another room?
Yes, as long as the new wall has proper studs and clearance. A trained crew confirms anchor points and ceiling height before reinstallation.
Do wall beds damage walls during removal?
Not when handled correctly. Pros use anchor extractors and patch kits to leave clean holes ready for repair or repainting.
Should related bedroom furniture be disassembled too?
Often, yes. Box springs, tufted headboards, and wall units usually share the same moving path and benefit from coordinated breakdown.
Can a Murphy bed be reassembled after relocation?
Absolutely. With labeled hardware and original brackets, reinstallation typically takes a few hours at the new location.
When should I request Murphy bed disassembly help?
Book at least a few days before your renovation, flooring, or moving date. Early scheduling secures the crew and keeps your timeline flexible.